My First Acquisition
Step by Step how to acquire your first evidence with Eviquire
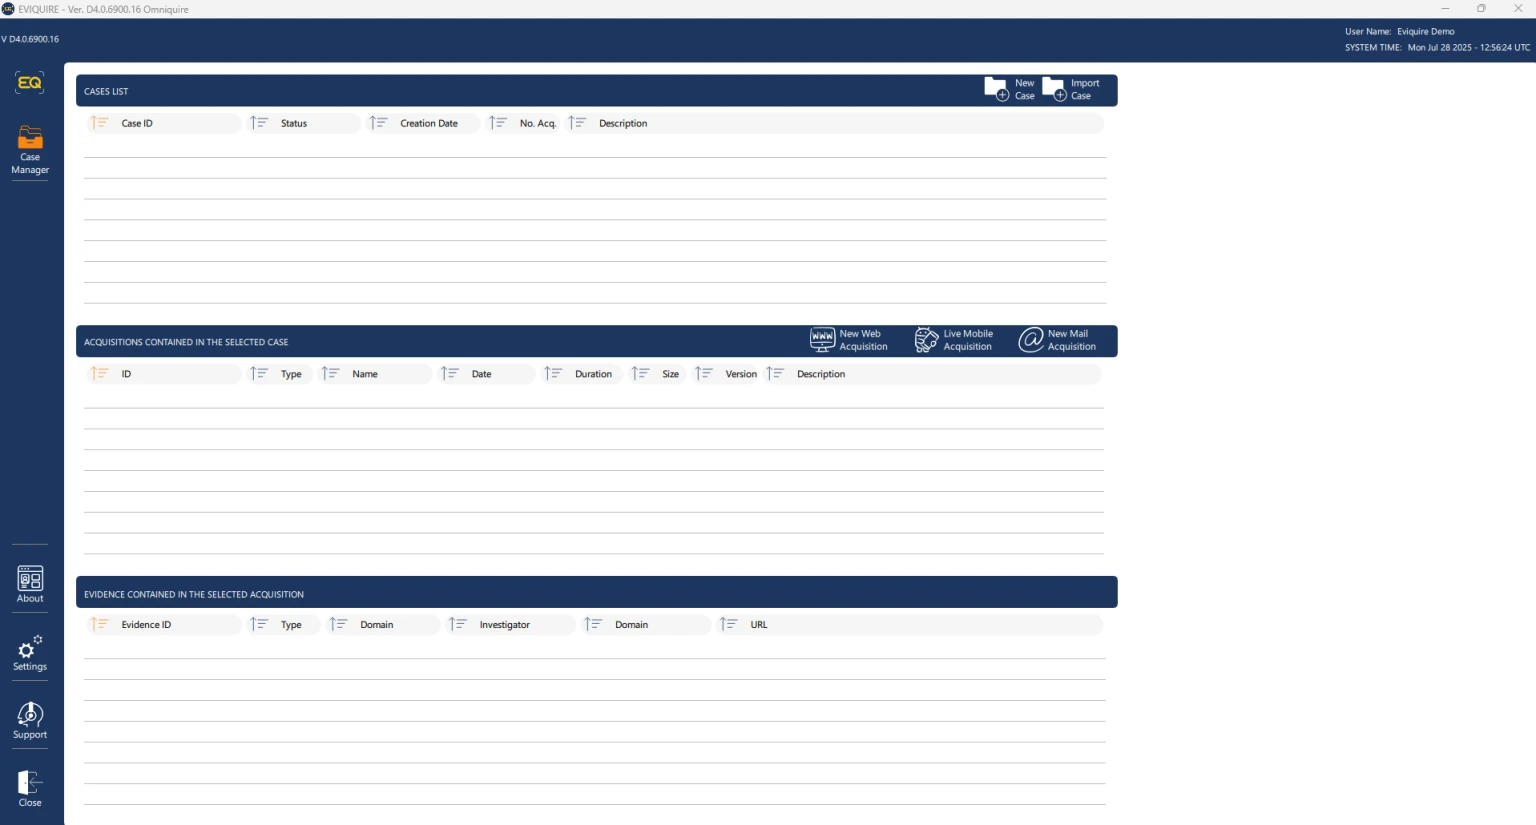
Step 1 - The Case Manager
At first Eviquire loads the Case Manager where you will be able to create new cases, and inside each case unlimited acquisition sessions.
An acquisition session can last few seconds if you already know what to capture or even few days if you are running a social media auto-scroll acquisition.
For now let's focus on a simple acquisition of a public Facebook page.
Step 2 - New Case
Click on the  icon to create a new case.
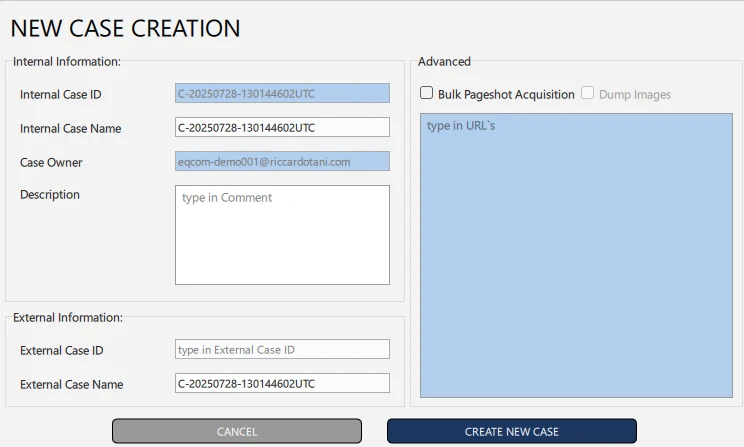
This Section contains multiple customization but for the time being we can just click "Create New Case".
A new Case will be created as below:

Step 3 - New Web Acquisition
it's time now to click to "New Web Acquisition"

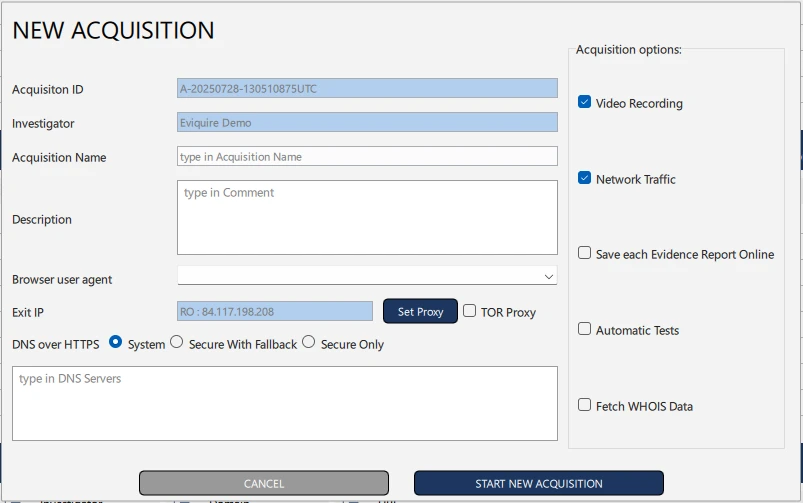
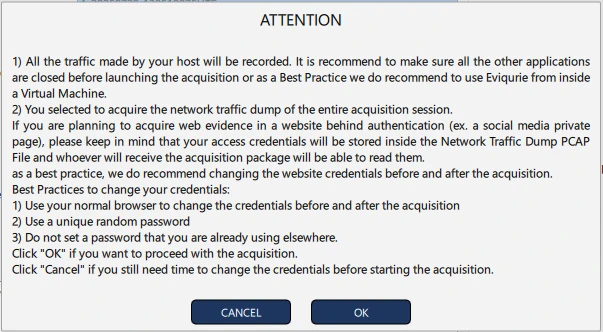
Even in this New Acquisition window we have multiple options but for this acquisition we are going to click "Start New Acquisition" then "OK "to launch the forensic browser and capture our first Online Evidence.
Step 4 - The Forensic Browser
The Forensic Browser will open fullscreen and open DuckDuckGo search engine.

Step 5 - Let's open a new URL
From now we can either search a content like in a normal browser, either click on "Browser" icon on the left side of the browser then click "Goto URL"
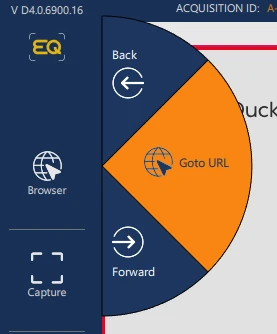
A form to type a URL will popup and now you will be able to type a new URL.
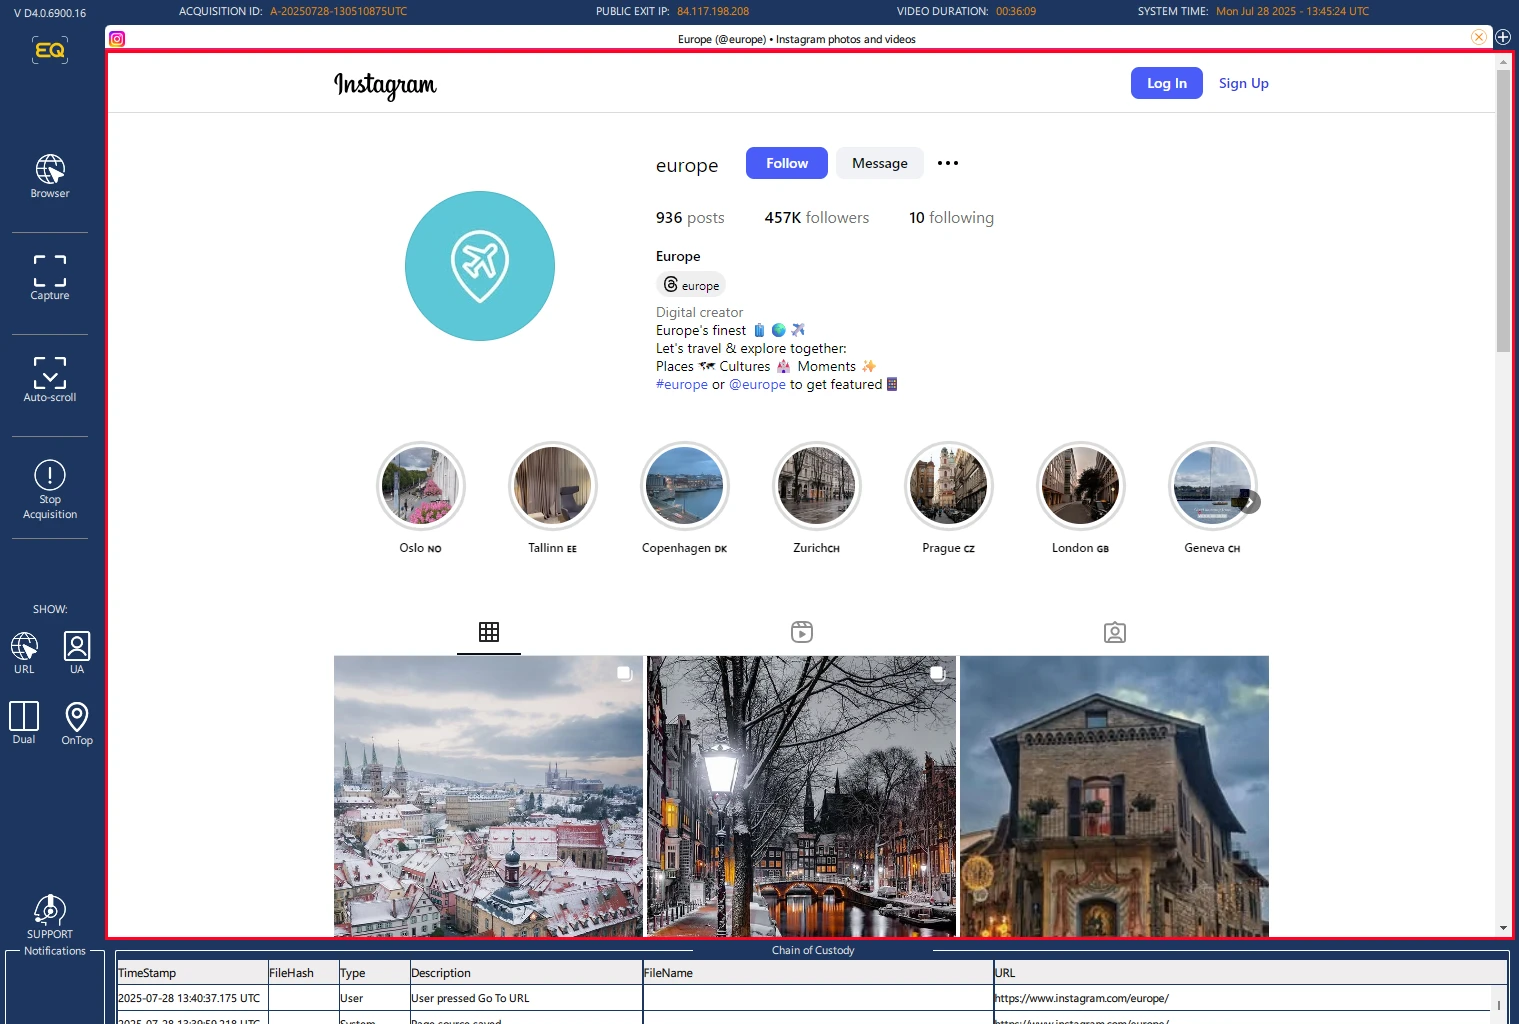
For this session we will capture Europe (@europe) • Instagram photos and videos "https://www.instagram.com/europe/") then press "Ok" side to the URL.

Now that the Instagram page loaded, is possible to capture our evidence.
Step 6 - Your First Screenshot
Is possible to click the capture button on the left Eviquire bar and from here we have multiple type of capture: Screenshot (the screen as you see it), PageShot (the entire loaded content of the page even if not visible in the screen) or "Manual region" if you only need to collect a specific part of the page.
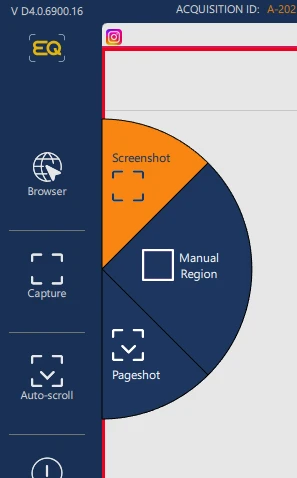
For this session we choose "Screenshot"
The screen will become white for few seconds while the forensic screenshot is captured.
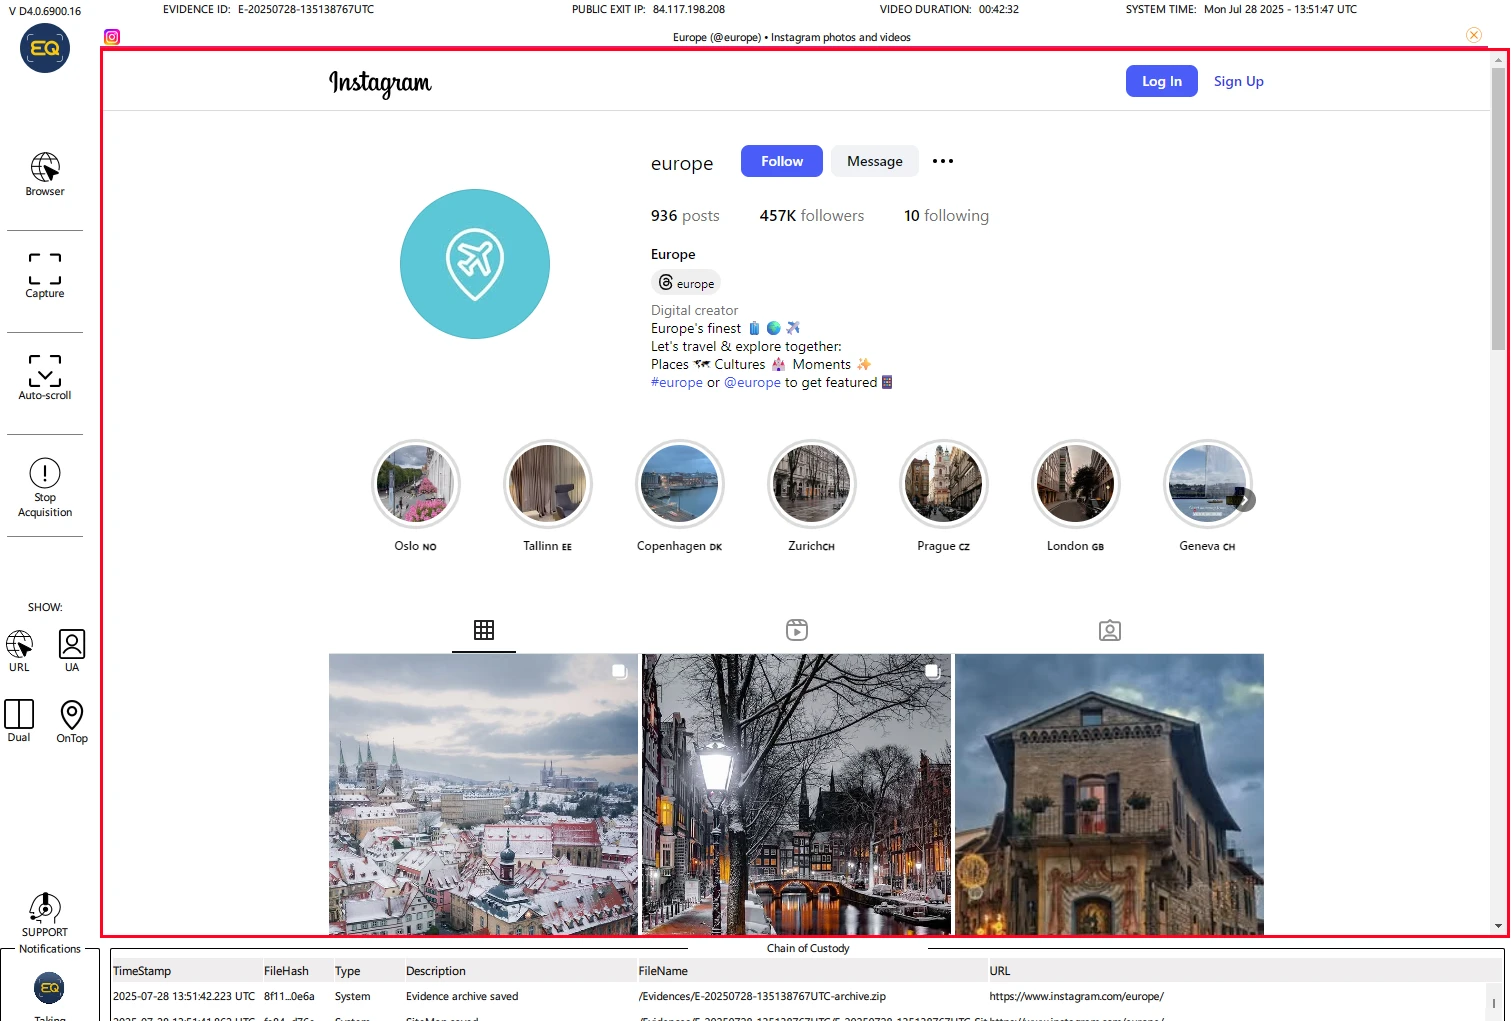
Once the Screen is back to blue means that the screenshot was captured with all the forensic metadata needed, creation of the evidence report, creation of the forensic archive and timestamped in multiple blockchain.
Step 7 - Close the Acquisition
Now is either possible to take another evidence, or browse the website or close the acquisition session.
For now we decide to click "Stop Acquisition"
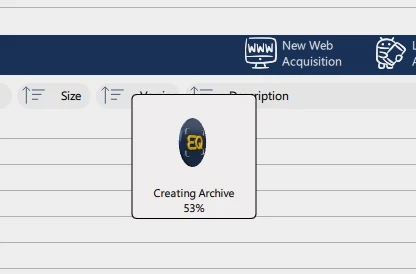
The case manager will return and In few seconds Eviquire will create the acquisition package, acquisition report, multiple hashes and all the other forensic metadata.
Step 8 - Case Manager
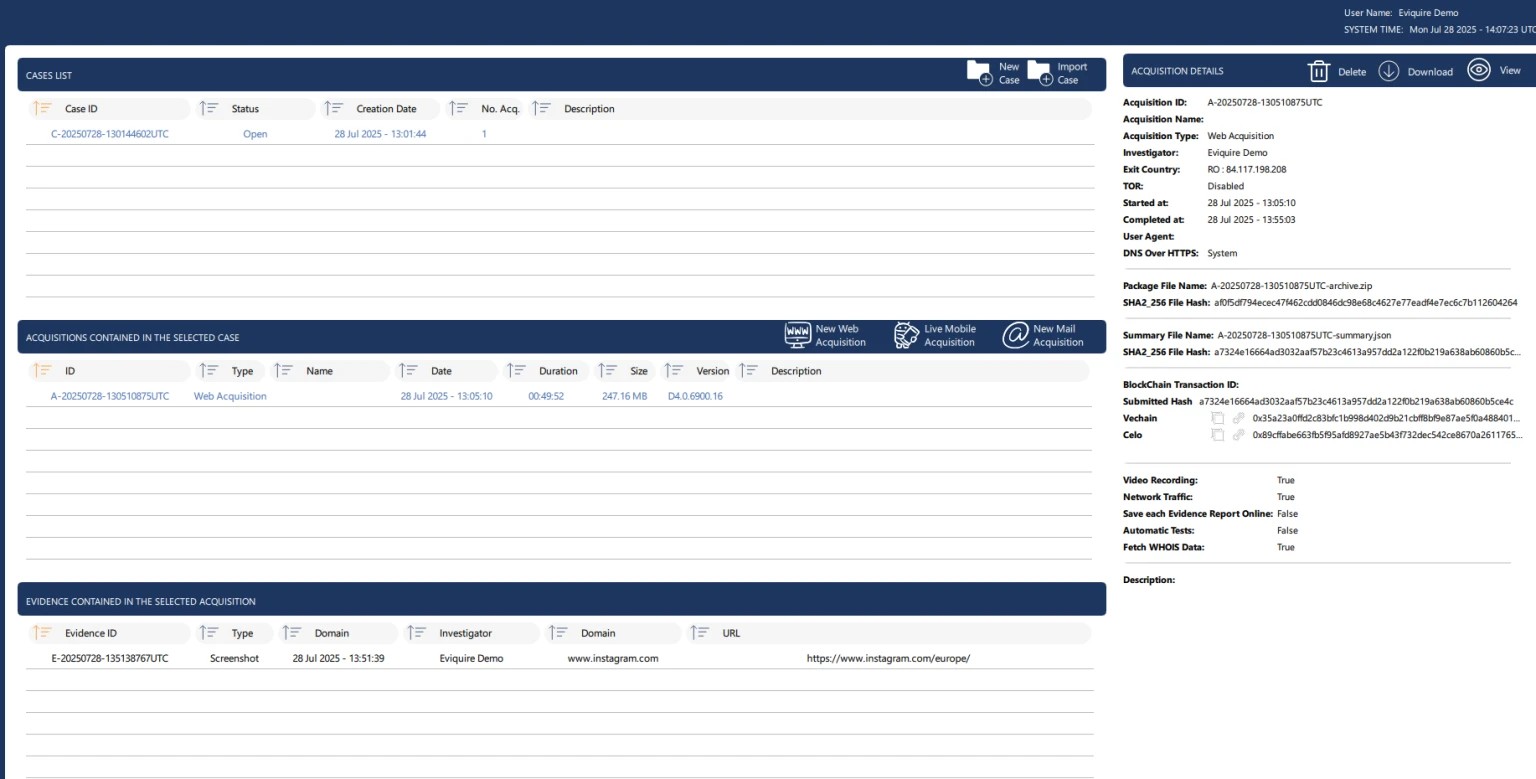
Is now possible to see the newly created acquisition in the list of acquisition.
Let's now click it and on the right panel we will see the details as well as below we see the Evidence that was captured during the acquisition.
If we click the button "View" in the top right, is possible to review the acquisition:

Step 9 - Case Review
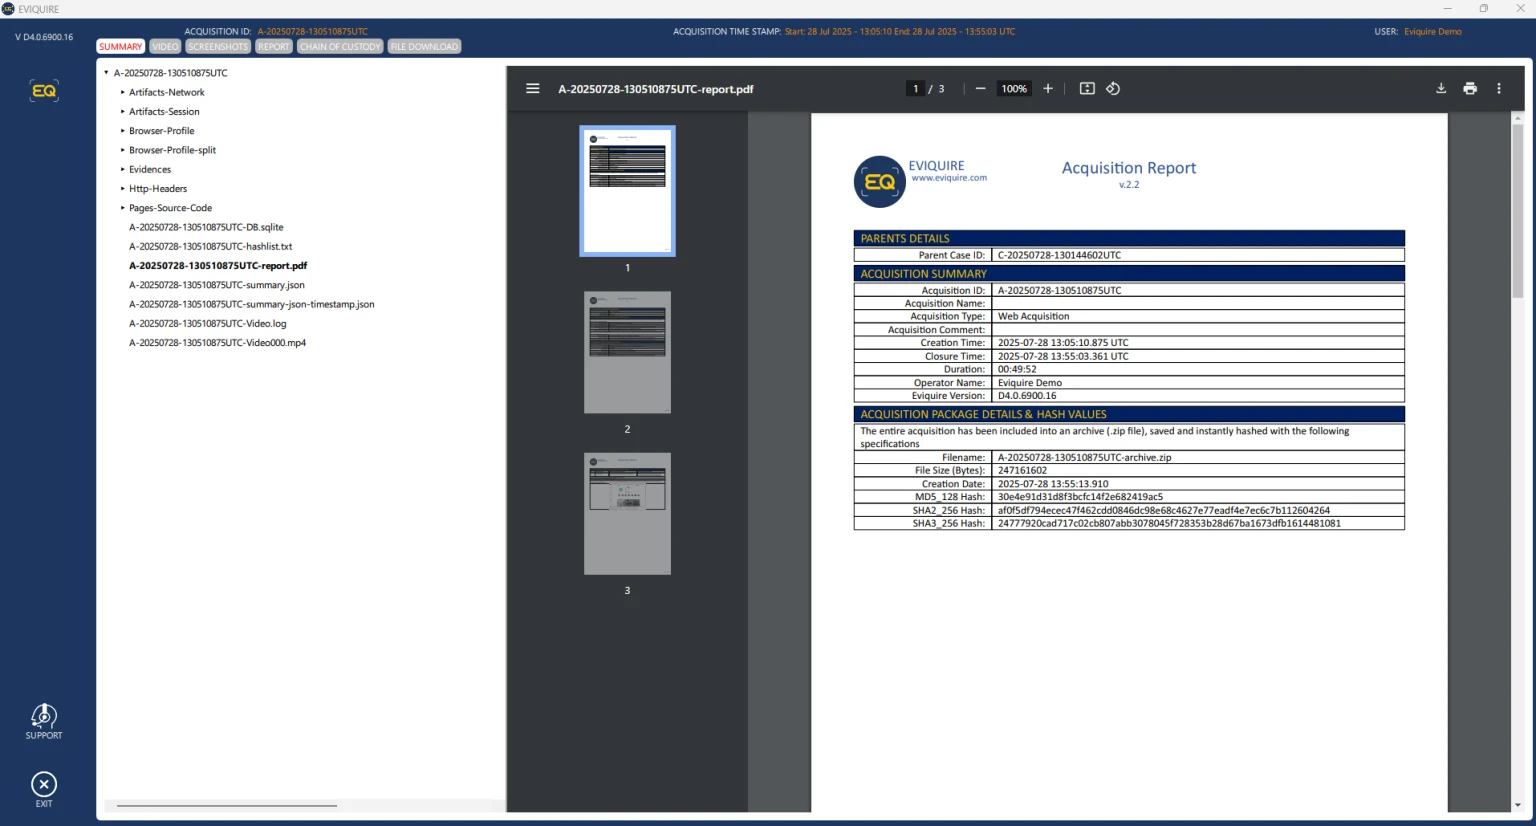 The case review window allow to review the entire content of the acquisition package without having to manually extract the content of the archive.
Step 10 - Acquisition download
if needed will now be possible to click the "Download" button to export the acquisition in a user folder

Congratulation your first acquisition was completed!